Header
Campaign Pro comes with a modern, innovative Header that is jam packed with campaign-ready features. Read on to find out how you can make the most of it.
In this section:
- Head over to the Header settings page
- Click the header and the settings panel will appear
- Click “Display header”
- Header basics
- Site Logo
- Menu
- Call to Action (CTA) (incl. button and donations)
- Supplementary Header
- Misc
- Click “Update”
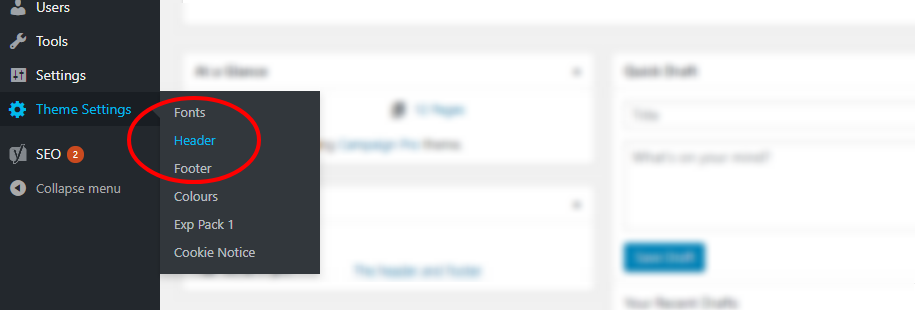
1. Head over to the Header theme settings
Head over to the fonts settings page by going to Theme Settings >> Header.
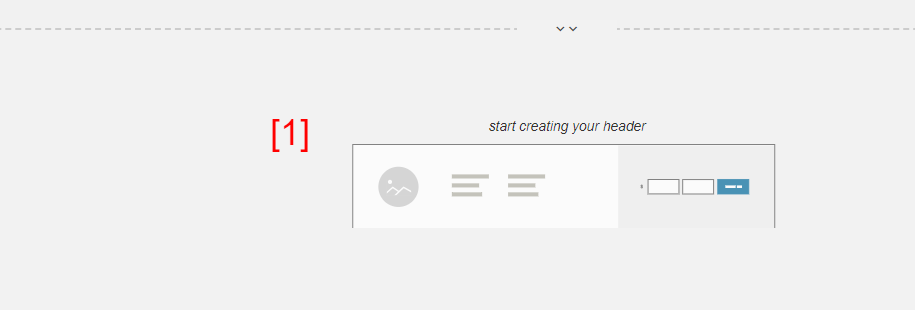
2. Click the header and the settings panel will appear
You’re now on the Header settings page, when you visit this screen for the first time you’ll see a placeholder (below). Simply click on the placeholder [1] and the settings panel will appear.
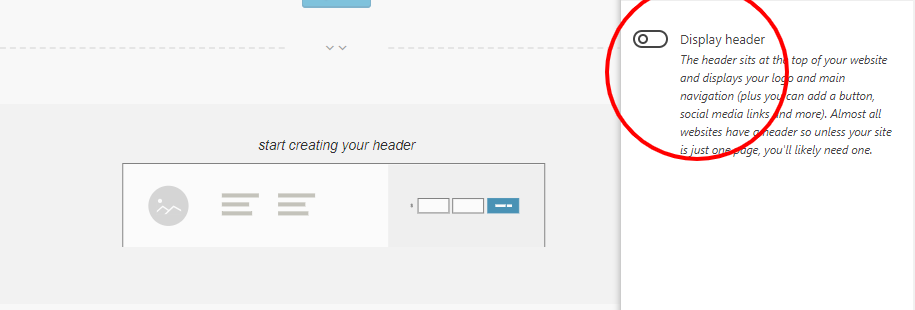
3. Click “Display header”
If this is your first time changing a setting on the Header then you will need to turn on the Header by simply clicking Display header. This will then bring up the Header settings, separated in to 5 sections.
4. Header basics
Campaign Pro comes with a feature-rich Header to allow you to tailor it to your campaign. You can add your logo, menu, donations, latest news, social media, search and call to action.
You can build your Header with the WYSIWYG builder – as you change settings it will update in real-time so you can see how it will look before saving.
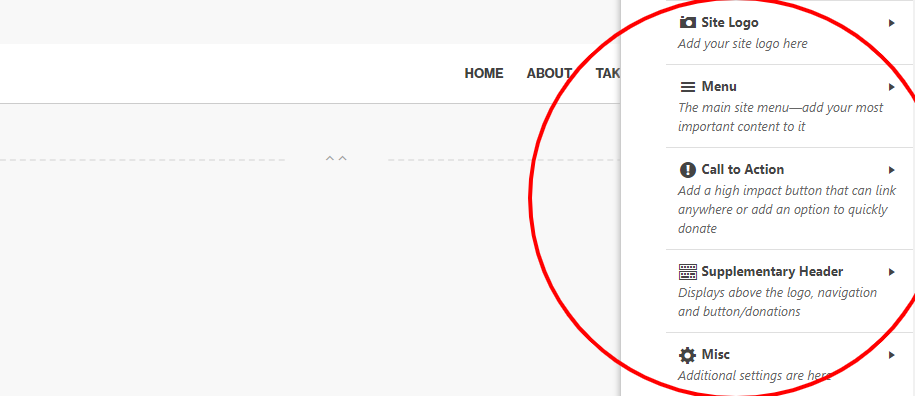
4.1 How the settings are structured
The settings are separated in to 5 sections, these are:
- Site Logo
- Should be fairly self explanatory, this is the site logo.
- Menu
- The main menu of the site that displays in the Header.
- Call to Action
- You can choose to display either a button or donations.
- Supplementary Header
- Displays Search, Social Media links and the latest post/campaign/event.
- Misc
- Option to add a masthead colour (perfect for when you have a colour strongly associated with you brand/campaign).
5. Site Logo
Campaign Pro comes with an advanced logo manager providing you with complete control over how your most important brand asset is displayed on your site. Head over to the article on the site logo for info on adding your logo and the various settings available.
6. Menu
Once you assign your menu it will automatically appear in your Header. You can assign a menu by going to Appearance >> Menus, selecting the menu (or creating a new one) and then checking the Header checkbox.
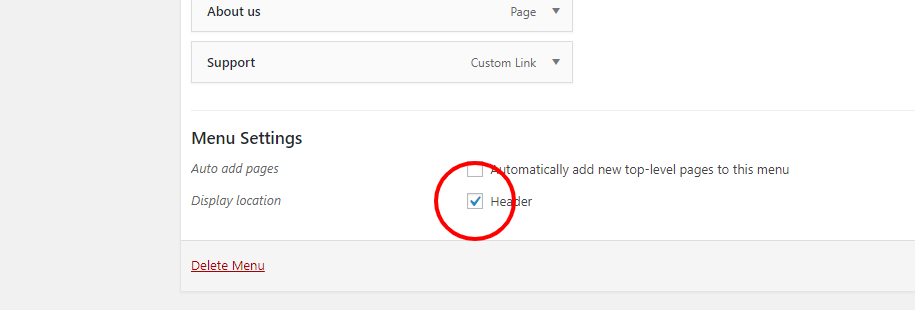
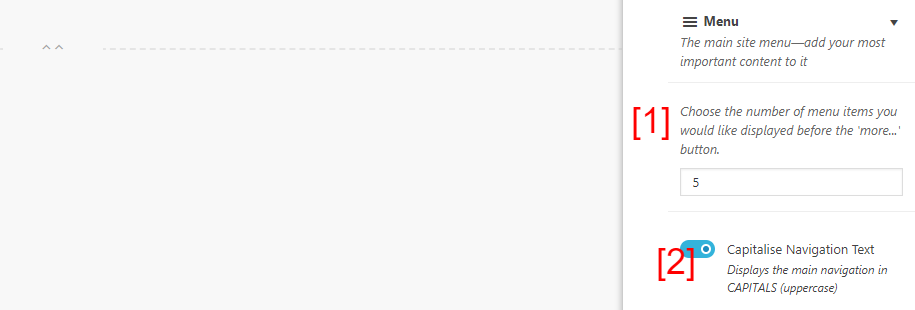
Once the menu is set to the Header display location (see image above) it will display in the Header, and the settings allow you to fine-tune your menu. You can choose how many menu items appear before the “More” button/dropdown [1] and you can choose to capitalise the navigation text [2].
7. Call to Action (CTA)
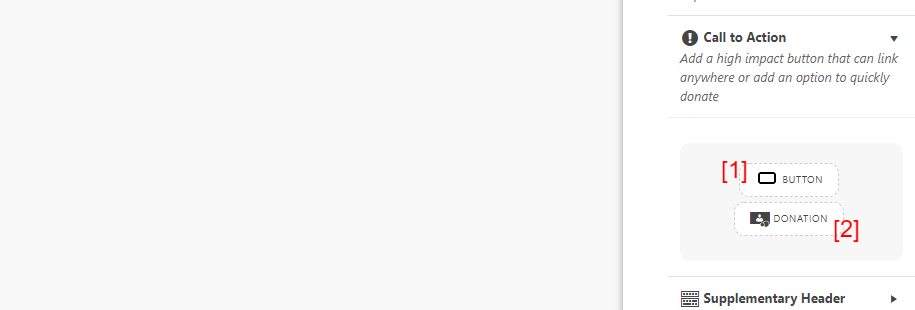
Adding a call to action to your header is a great way to focus attention on something important. You can either add a button [1] or add donations [2] – a feature exclusive to Campaign Pro.
7.1 Button
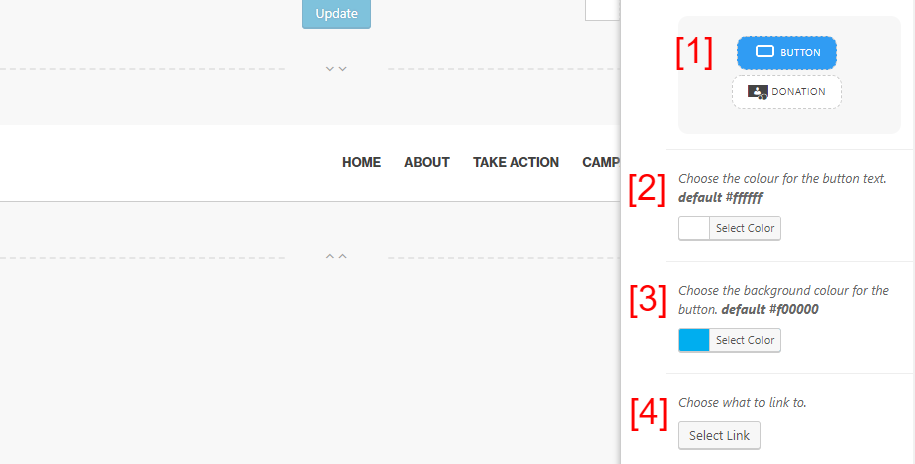
Click BUTTON [1], choose the colour for the button text [2], the button background colour [3] and choose what to link to [4]. And that’s it!
7.2 Donations
Accept donations straight from your Header, allowing your supporters and advocates a seamless, straight forward way to donate, helping to increase conversions.
Click DONATION [1], choose the colour for the button text [2], the button background colour [3] and choose the text for the button [4].
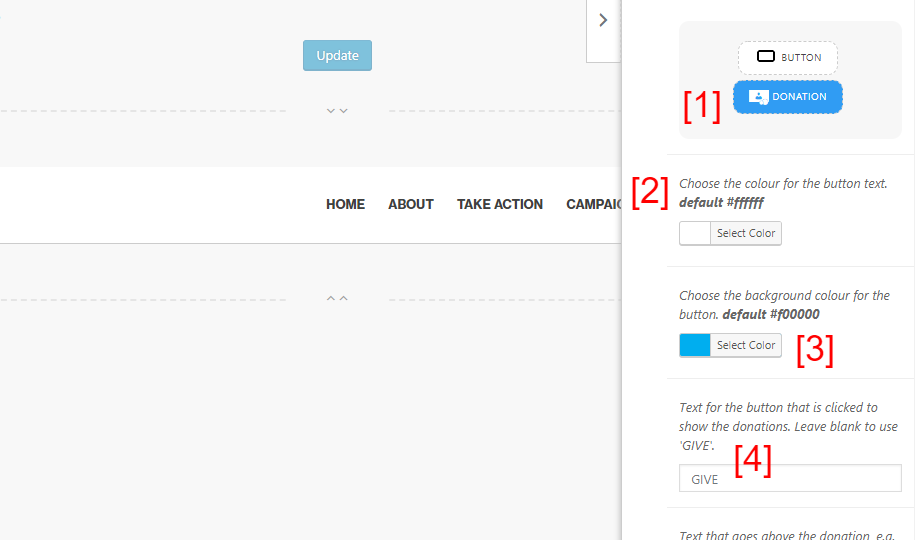
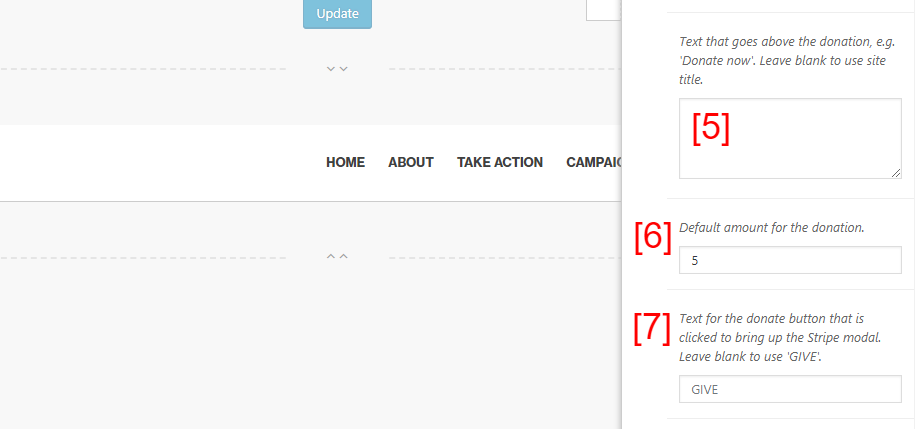
Add the text that will display above the input field [5], by default it is “Donate now”, but you can use anything you like. Set the default amount for the donation [6] (defaults to 5, e.g. $5, £5). Input the text for the button that brings up the Stripe modal [7]. When this button is pressed, the Stripe modal will show, allowing the donor to enter their debit/credit card details.
You can add up two checkboxes [8] that the donor can optionally check, great for things like asking for monthly donations or an email newsletter sign-up. You can also add a required checkbox [9], which is great for accepting terms and conditions.
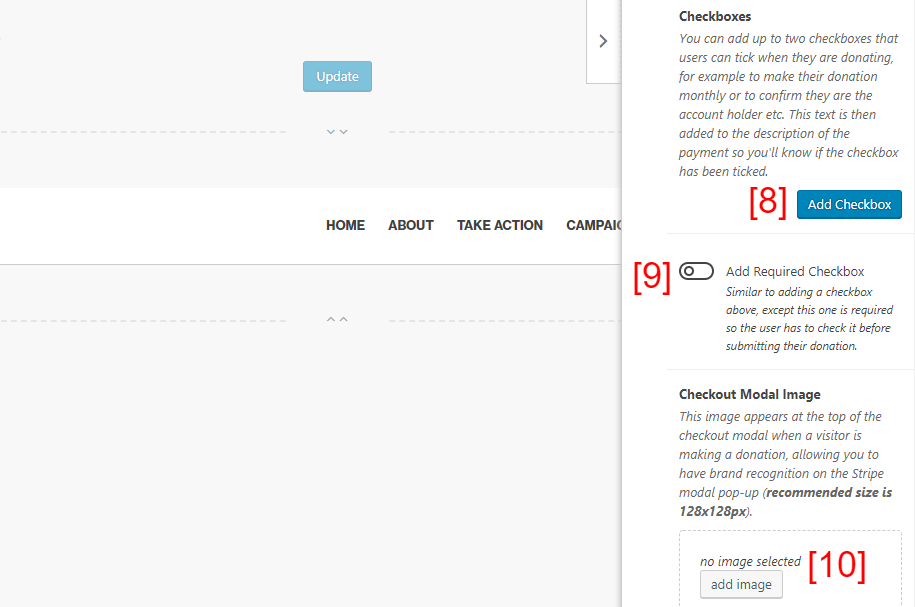
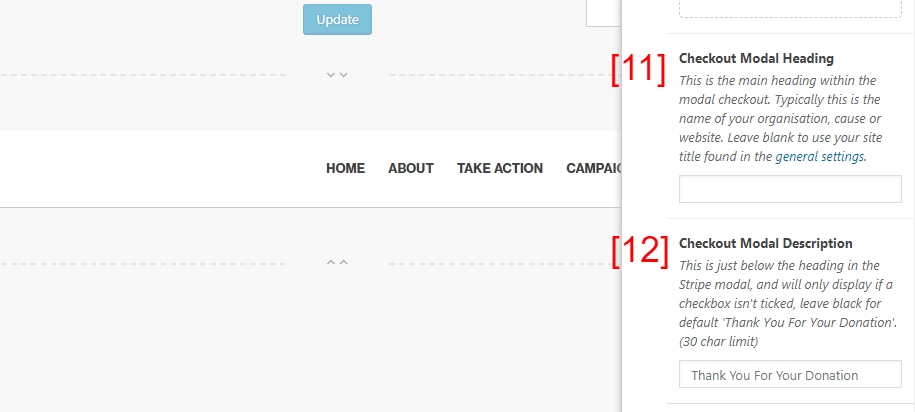
Add a checkout modal image [10] to the Stripe checkout, which is a great way to personalise the Stripe modal, add a custom heading to the modal [11] and finally add a description [12].
And that’s it! You’ve now got a world-class donation experience embedded in your Header. Go you 🙂
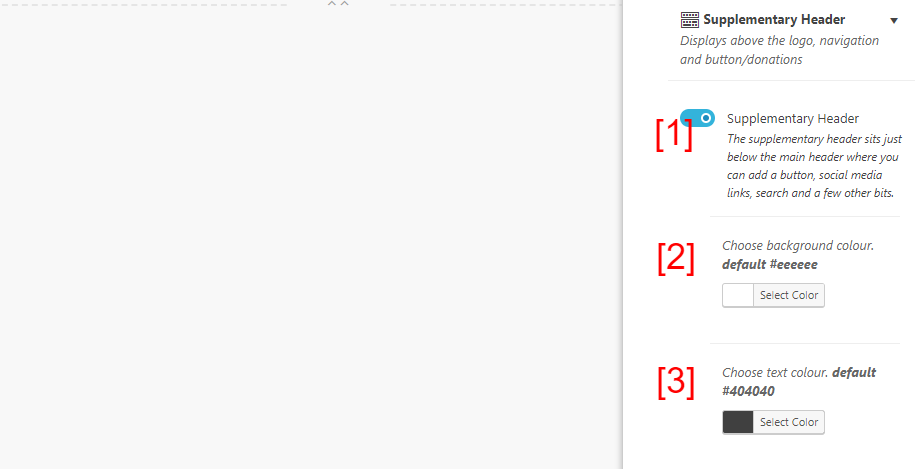
8. Supplementary Header
The Supplementary Header displays at the very top of the page and allows you to add search, social media links and your latest content.
Click the Supplementary Header [1] toggle to add it it to your Header and choose a background colour [2] and text colour [3].
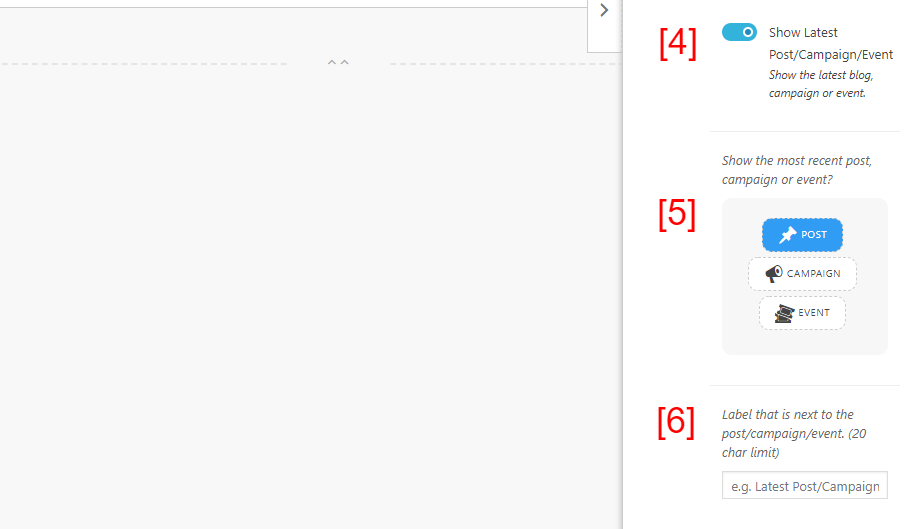
If you would like to show your latest post, campaign or event then you can click the Show Latest Post/Campaign Event [4] toggle and then select either post, campaign or event [5] and the label that will display before the article title [6] (e.g. Latest Campaign/Event/Post).
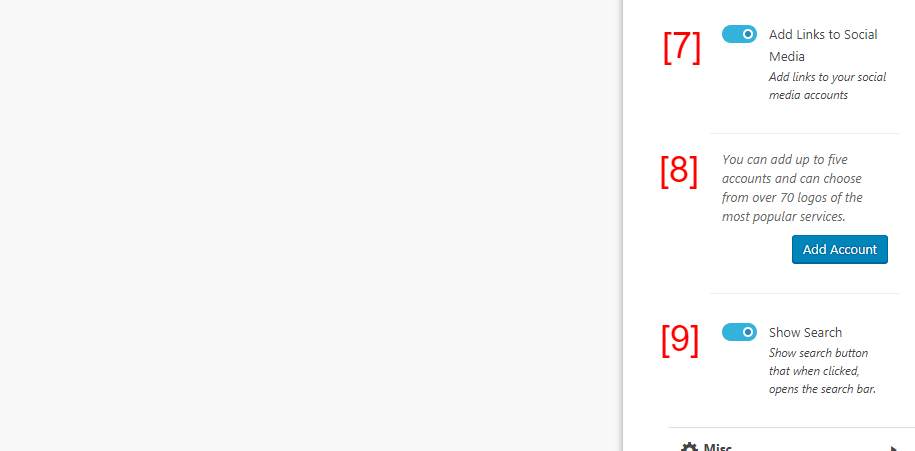
If you would like to add links to your social media accounts then you can click the Add Links to Social Media [7] toggle and then click the Add Account [8] button to add your accounts (you can add up to 5). You can add a search button (which when clicked displays the search bar) by clicking Show Search [9].
9. Misc
The final section of the Header is the aptly named “Misc”, where you can set a masthead colour (perfect for when you have a colour strongly associated with you brand/campaign). Simply click the “Masthead Colour” toggle and choose your colour, and it will appear as a stripe at the top of your site.

10. Click “Update”
With your Header good to go simply click Update and it will display on your site.

And that’s it! You’ve now mastered managing your Header with Campaign Pro 🙂