Fonts
Campaign Pro allows you to have easy and simple control of your fonts. You can use fonts from Google Fonts or Typekit (Adobe Fonts) and can even do font pairings!
In this section:
- Head over to the fonts settings page
- Click on the service you want to use
- Add Project ID / Code
- Add the font family name and choose what will be styled
- Font pairing (optional)
- Update
1. Head over to the fonts settings page
Head over to the fonts settings page by going to Theme Settings >> Fonts (self-hosted version) or Campaign Pro Settings >> Fonts (cloud version).

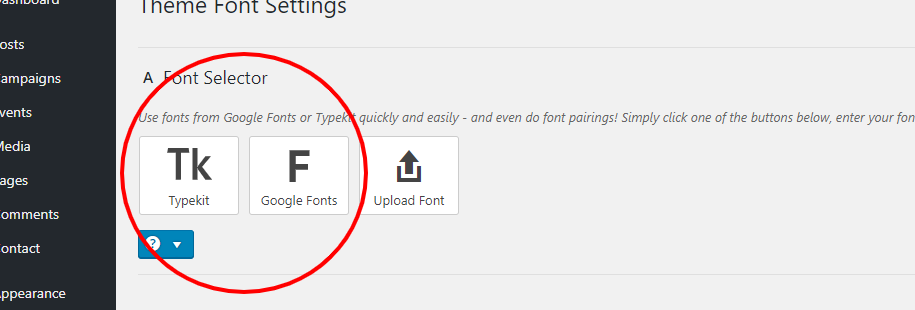
2. Click on the service you want to use
You’re now on the fonts settings page. Simple click the font service you want to use.
3. Add Project ID / Code
3.1 Typekit (Adobe Fonts)
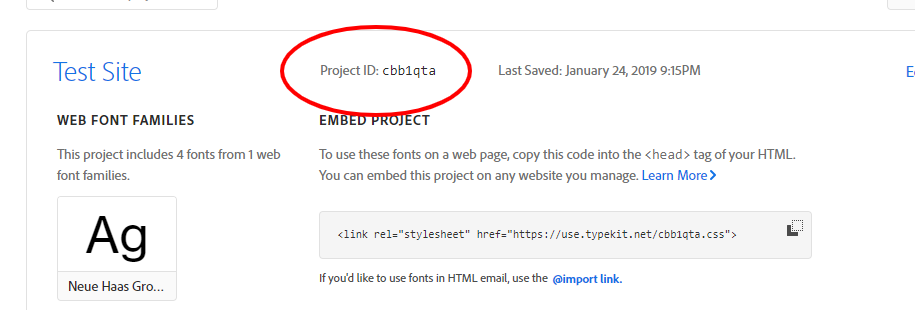
3.1.1 Get your Project ID
If you want to use Typekit (Adobe Fonts) then the next step is to get your Project ID from Adobe Fonts by going to fonts.adobe.com, clicking My Adobe Fonts (top right), then clicking the Web Projects tab (top left) and copying the Project ID.
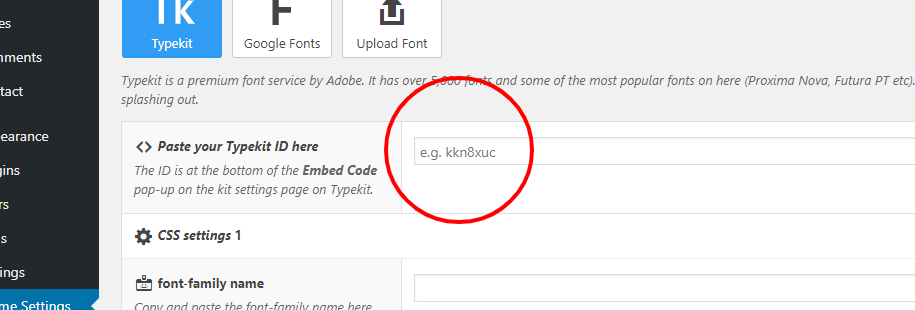
3.1.2 Paste your Project ID
Simply paste the Project ID in to the box.
With your Project ID set you can go ahead and add the font family name (go to font family section below).
3.2 Google Fonts
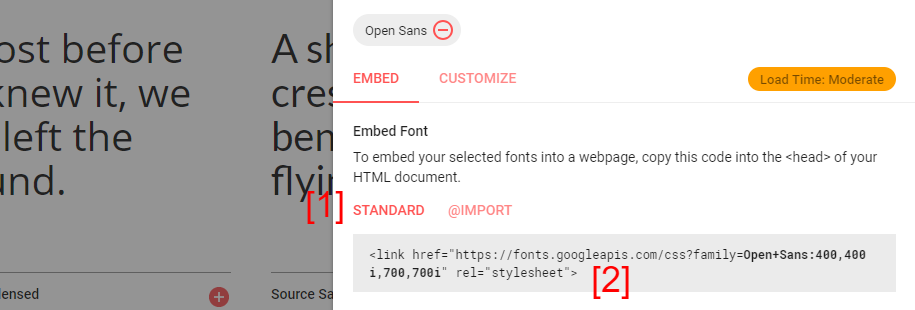
3.2.1 Get the Google Fonts code
Once you’ve selected the font/s you want to use, click the tab at the bottom of the page and the font screen will appear. Make sure STANDARD [1] is selected and copy the code that is displayed [2].
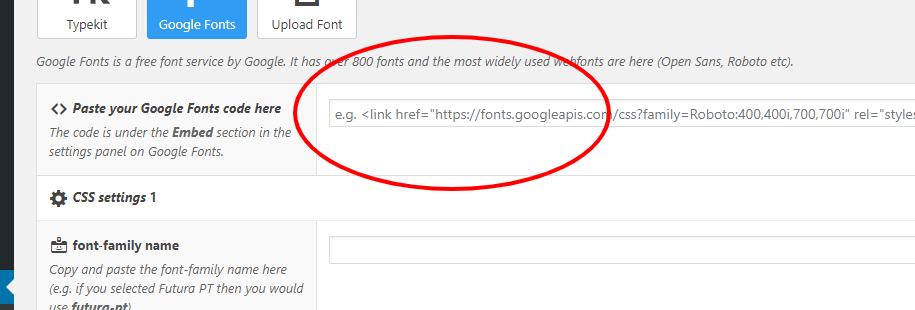
3.2.2 Paste the Google Fonts code
Simply paste the code in to the box.
With your Google Fonts code set you can go ahead and add the font family name (go to font family section below).
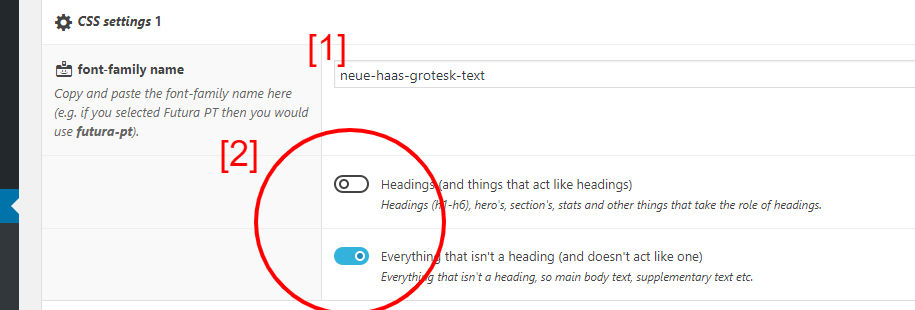
4. Add the font family name and choose what will be styled
Add the font-family name [1] and choose what will be styled [2]; you can choose all text, or just headings.
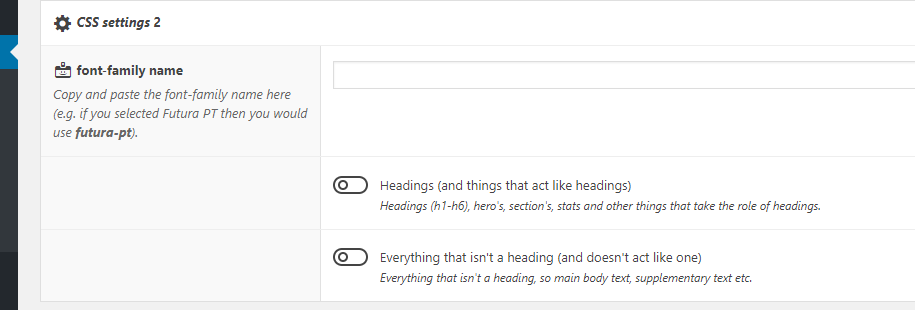
5. Font pairing (optional)
You can add another font for something called font pairing, which is when you have a font for headings (and things that are somewhat detached from the main body – like buttons), and a font for the main body content.
The fonts should be complementary, but also contrasting (like a serif and sans-serif). Do an internet search for “font pairing” if you want to learn more, and to see some examples on what works well for pairs.
If you want to add another font, simply fill in the CSS settings 2 with with font-family name and by choosing what to style (Headings or everything else).
6. Update
Once you’ve added your font settings simple click Update and they will be applied across your whole site.

And that’s it! You’ve just added fonts to your site. Enjoy 🙂